This post contains Amazon affiliate links
The SD2SNES Pro was re-branded the FXPAK Pro on January 1, 2020. This post is based on and uses the term SD2SNES. All information also applies to the FXPAK Pro and SD2SNES Pro.
You may need a different type of SD card depending on your flash cart. Please verify that you are buying the correct type of SD card for your flash cart.
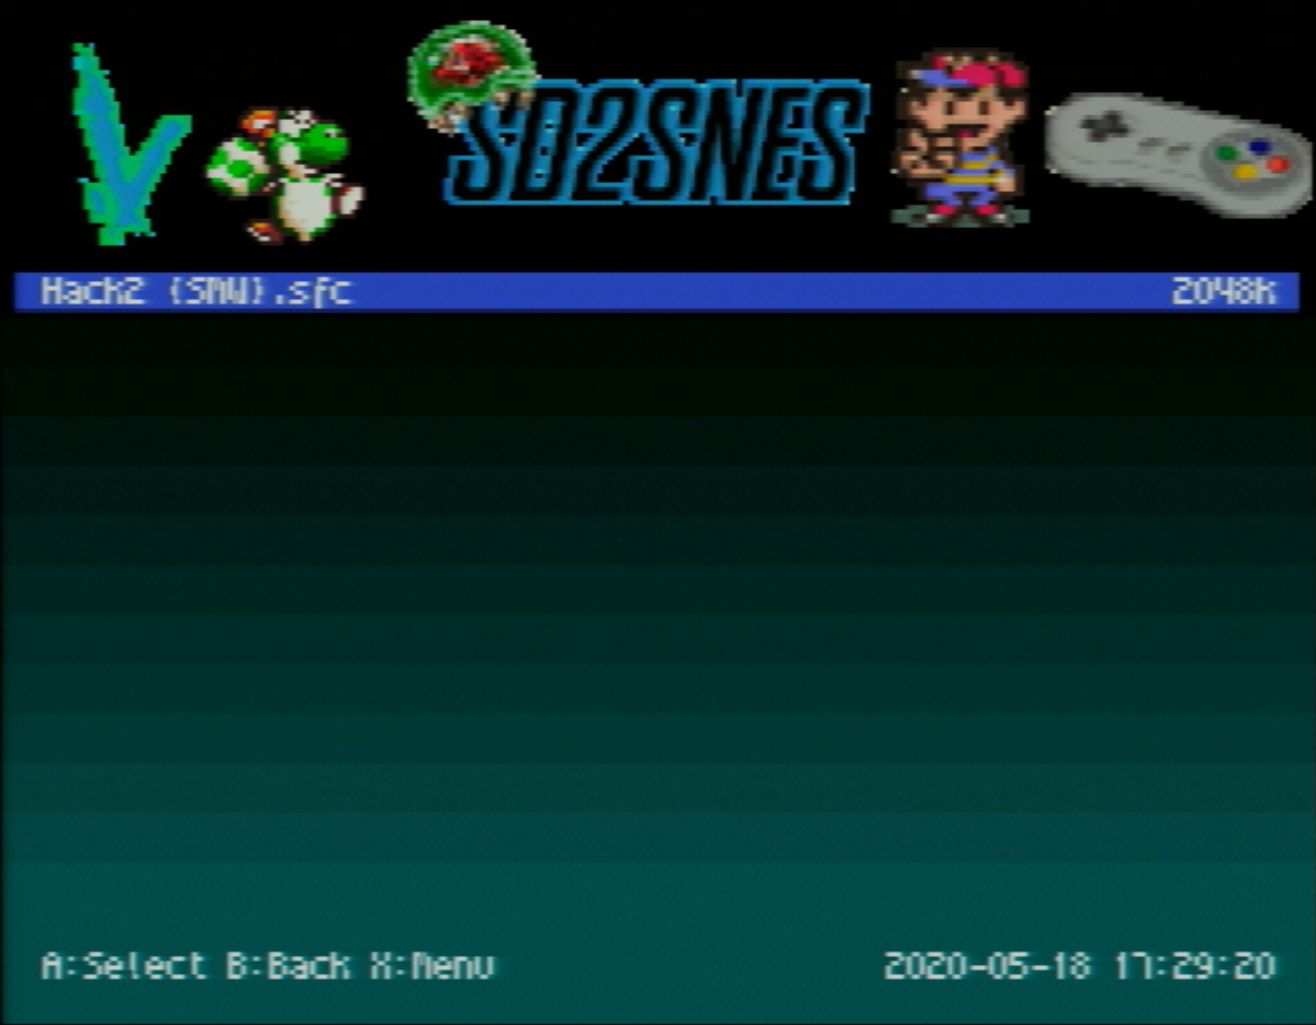
The SD2SNES is a flash cart for the SNES that lets you play games from an SD card on a SNES. This includes some fan translations and hacks.
Requirements
- SD2SNES or FXPAK Pro
- Latest SD2SNES firmware
- SD card - The product page lists up to 100GB tested. See Buying an SD card for details.
- SD card reader if your computer doesn't have a built in card reader
- SNES roms - you'll have to search for this one
Setup
Downloading firmware
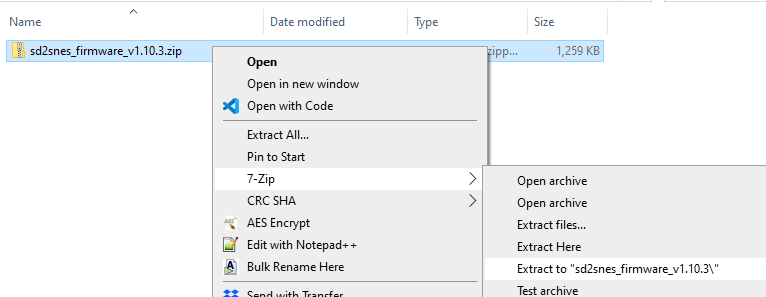
Download and extract the latest SD2SNES firmware on your computer.
Formatting SD card
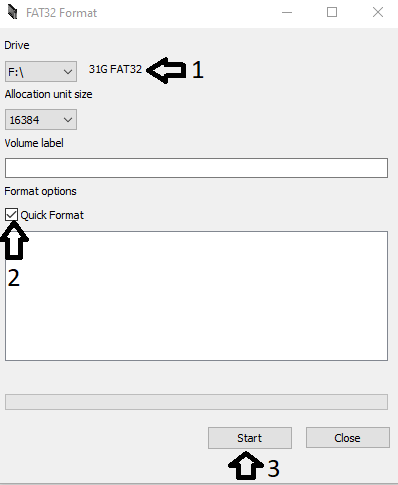
Format SD card to FAT32 using fat32format.
Make sure you have the correct drive selected before formatting.
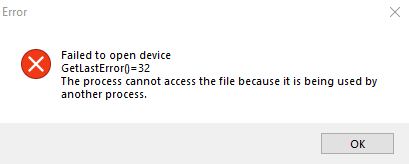
If you see a "Failed to open device" error check that you are running the program as an administrator and you do not have file explorer open. You will need to close file explorer even if you're browsing a different directory.
Copying firmware to SD card
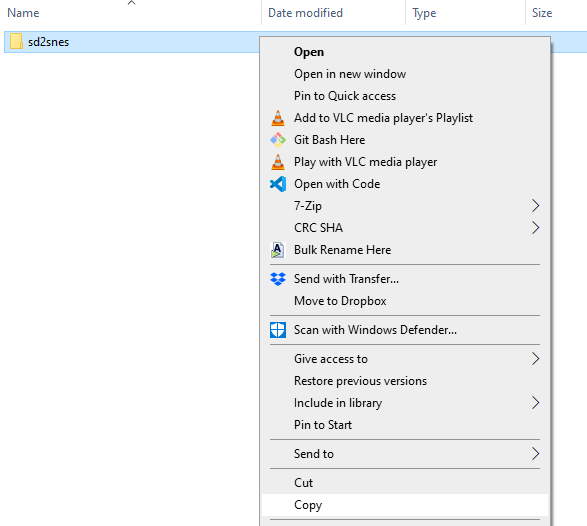
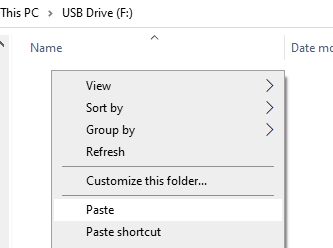
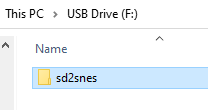
Copy the sd2snes directory extracted from the firmware zip in the previous step and copy it to the root of the SD card.
Copy roms to your SD card. You can use the root of the SD card or create directories to organize roms.
SD2SNES cannot read .zip files. You will need to extract the .zip and put the rom file in the roms directory.
You're all set! The SD2SNES will create config files on your SD card the first time you start it.
Game saves are stored at <sd card>:\sd2snes\saves\.
Buying an SD card
At the time of writing this post (08/29/2022) the SD2SNES Pro product page lists up to 200GB SD cards have been tested with the unit. I'm using a 32GB SD card and have not had any space issues.
For reference, the no-intro SNES collection is around 2GB so you would probably be fine with a 32GB card. exFAT is not supported, you will need to reformat SDXC cards to FAT32.
Some cards have long access times which may impact MSU1 performance. See the card list page on the SD2SNES project site for details.
You may need a different type of SD card depending on your flash cart. Please verify that you are buying the correct type of SD card for your flash cart.
- The FXPAK/SD2SNES Pro uses Micro SD.
- The SD2SNES (old/original version) uses SD.
If you're buying new you're most likely buying an FXPAK Pro and will need a Micro SD card.
Custom menu
Stone Age Gamer has a selection of custom menus on their website.
If you'd like to make your own menu, Dotsarecool has a tool to create custom SD2SNES menus on their website. This is done by editing the menu.bin file which may change with updates.
It is recommended to do this whenever you upgrade your SD2SNES firmware so the menu.bin file is the same version as the other firmware.
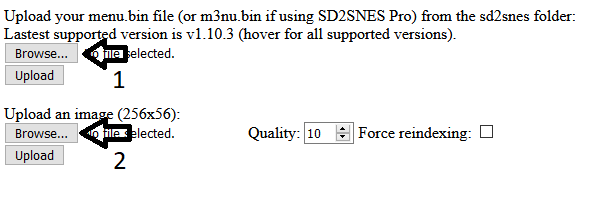
Open sd2snesimg in a web browser. Download and extract the latest version of SD2SNES firmware if you haven't already.
Click Browse and select the menu.bin (or m3nu.bin if you're using an FXPAK/SD2SNES Pro) file in the sd2snes directory. Upload an image if you'd like a custom banner.
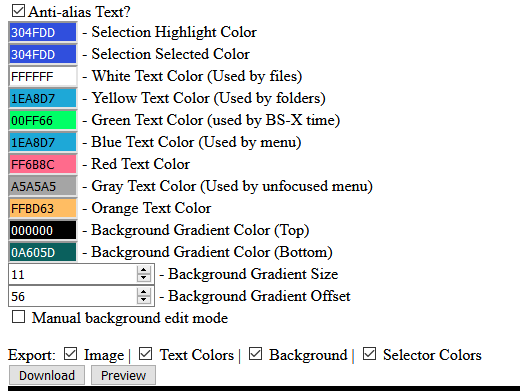
Change the colors in the colors table below. Click Preview to preview the menu and Download when done.
Copy or rename menu.bin (or m3nu.bin) on your SD card to menu.bin.bak (or m3nu.bin.bak) to create a backup of the old menu.
Copy the new menu.bin (or m3nu.bin) file to your sdcard in the sd2snes directory.
<sd card>:\sd2snes\
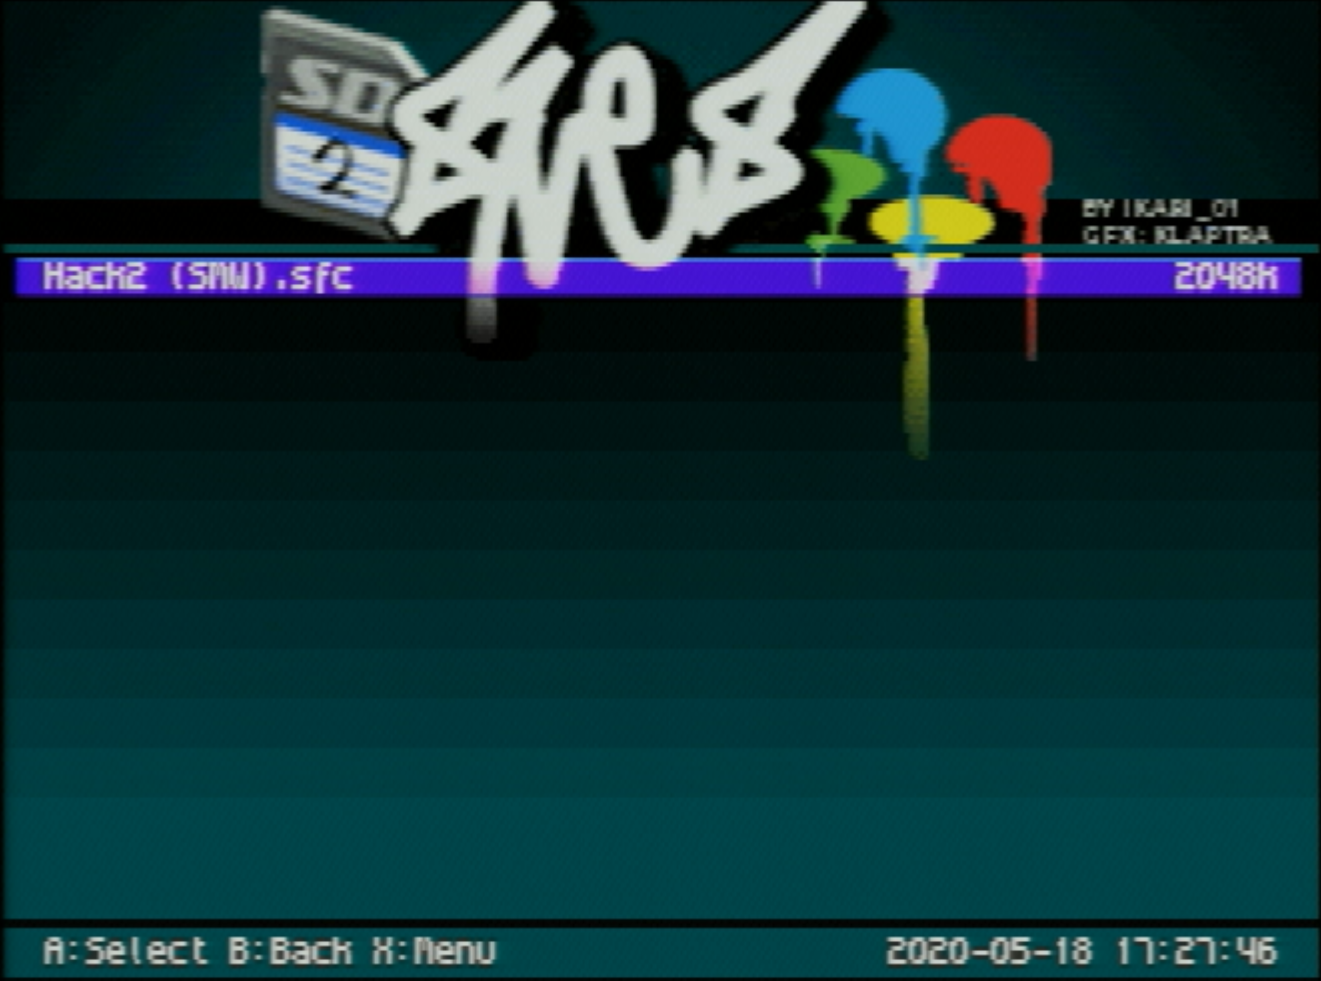
Next time you start your SD2SNES it will show the custom menu.