This post contains Amazon affiliate links
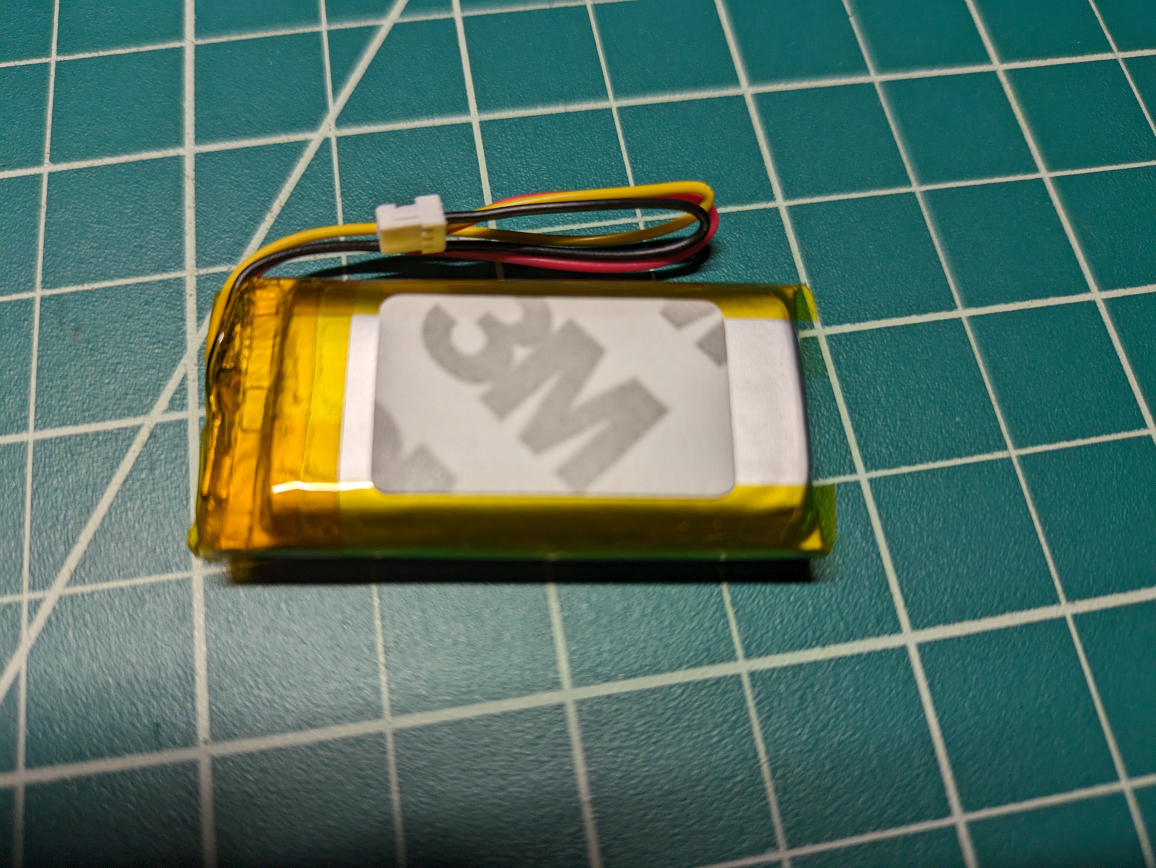
Here's a link to the replacement battery I used. This kit included a few tools and already had the double sided tape attached to the new battery.
The only screwdriver I needed was a T6 which is included in most precision kits.
I also ordered replacement feet in case the old ones got messed up. They haven't arrived yet so I'll probably just keep using the old ones. They reattached without a problem.
Power off the mouse before starting.
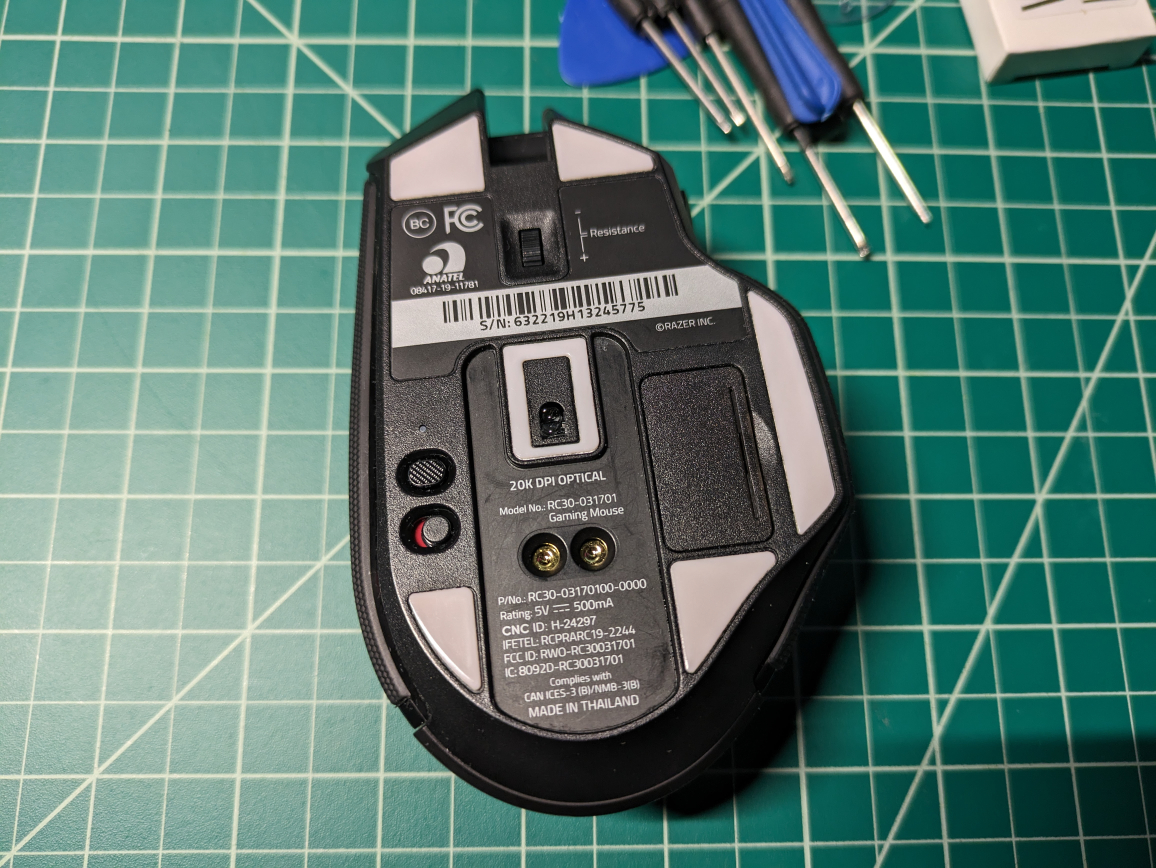
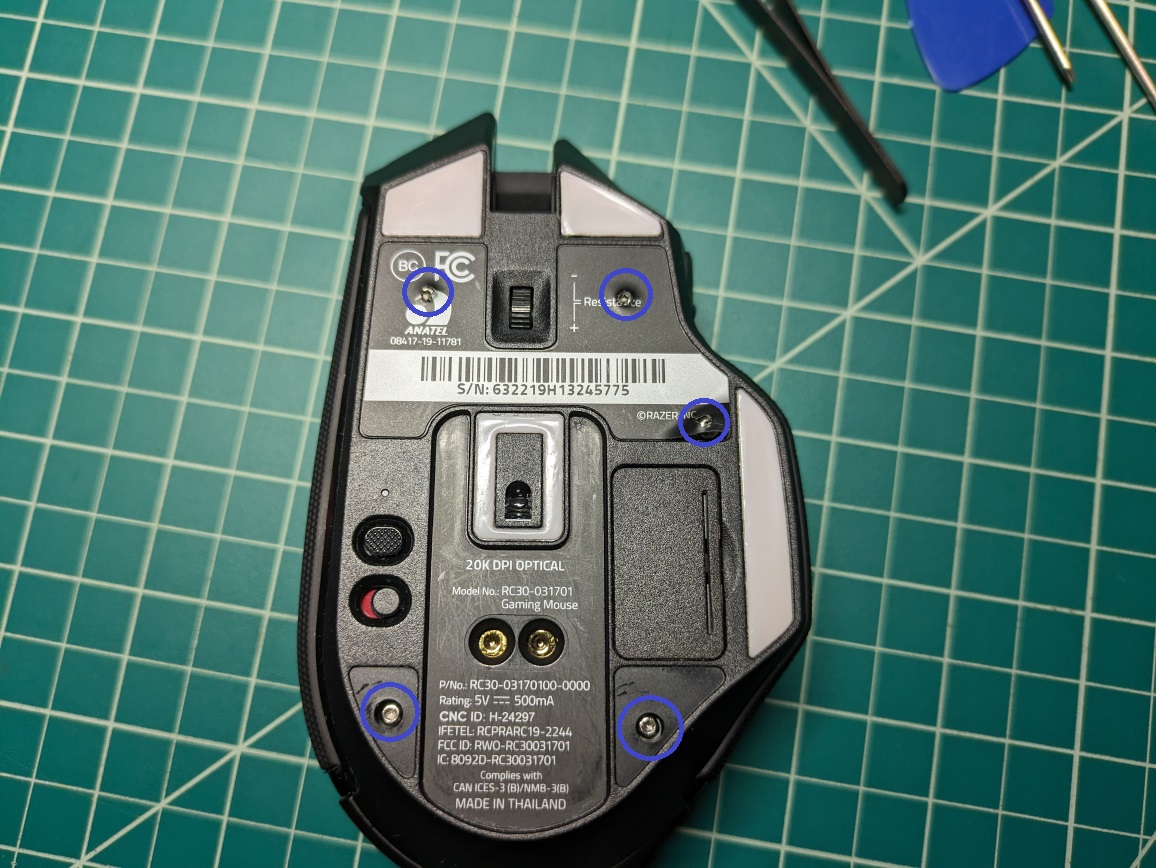
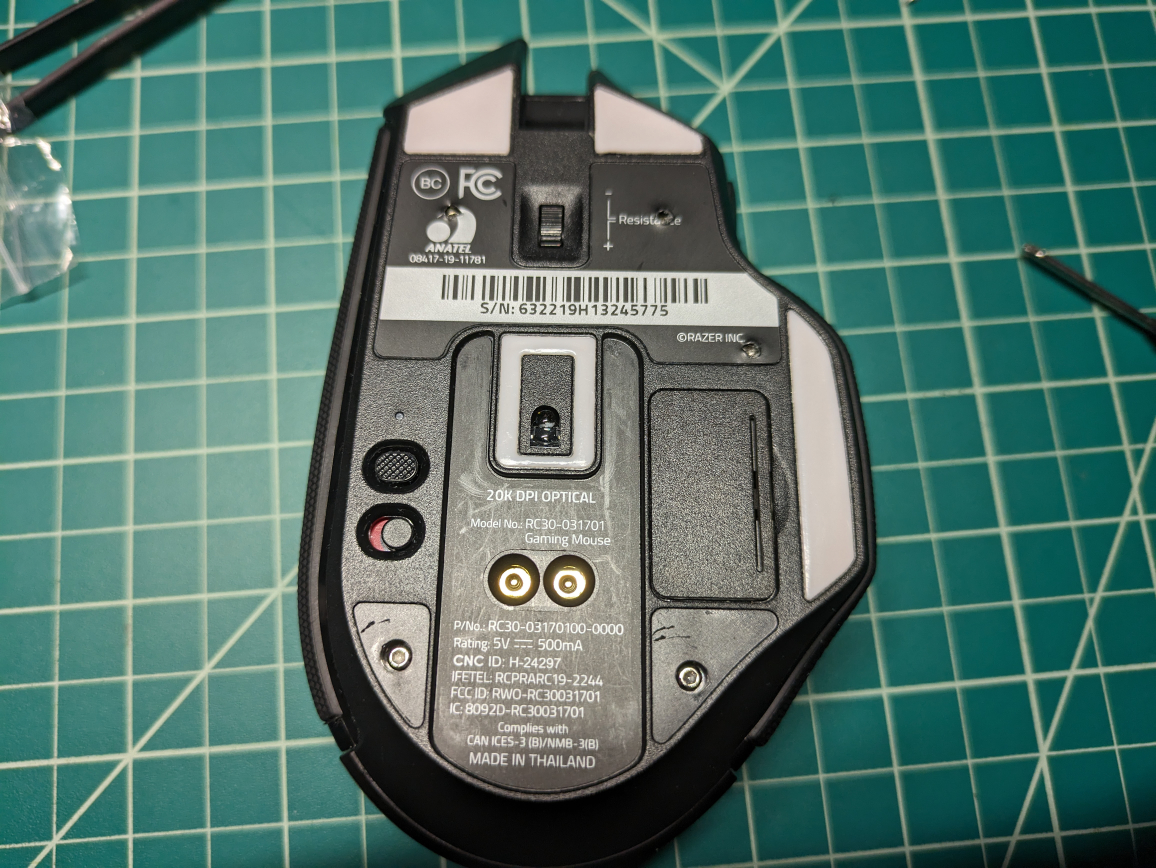
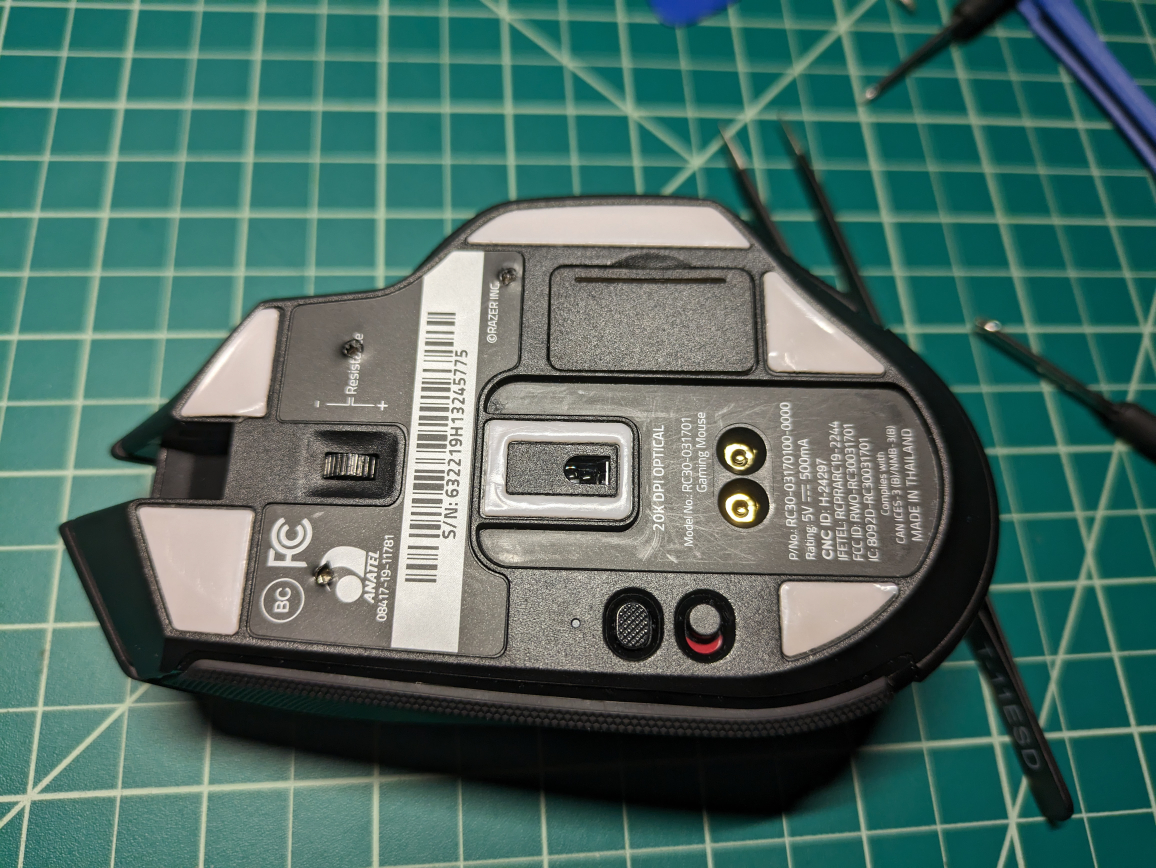
There are five screws on the bottom of the mouse.
Two are under the feet and three are under the label.
The feet can be peeled off.
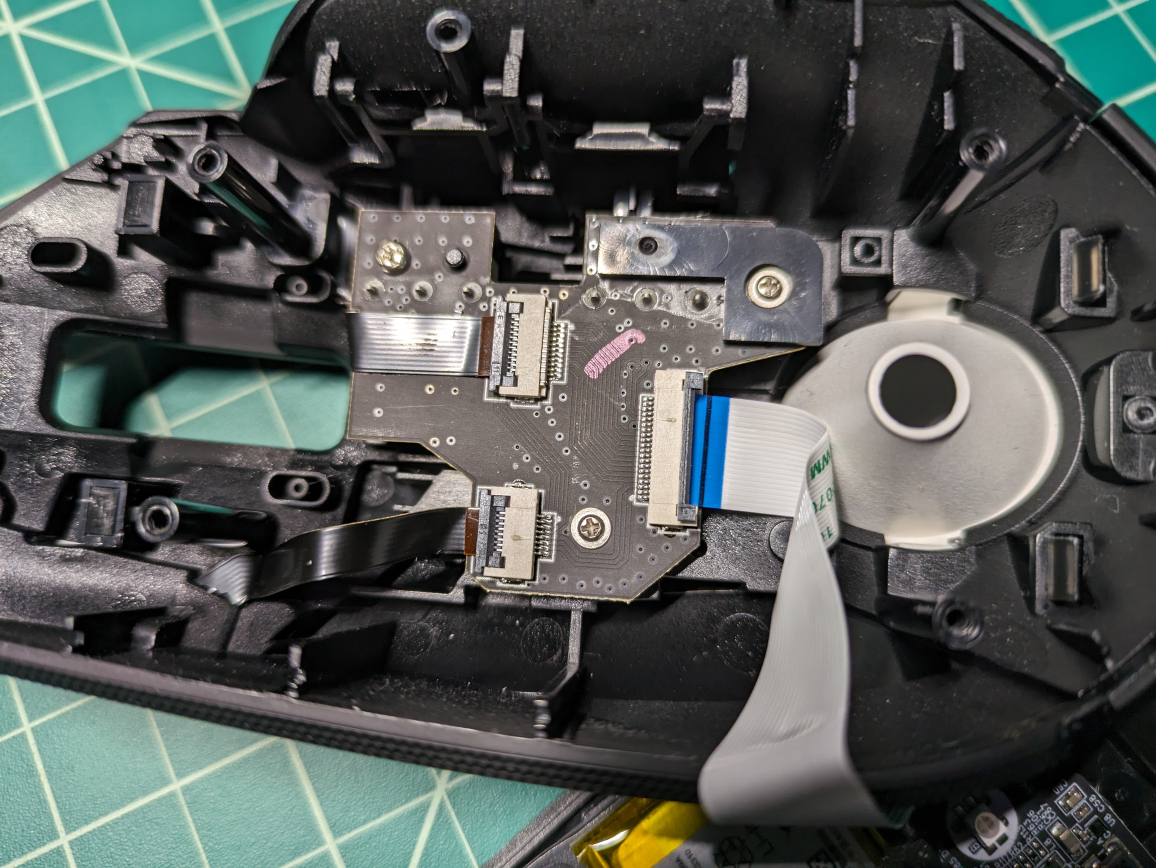
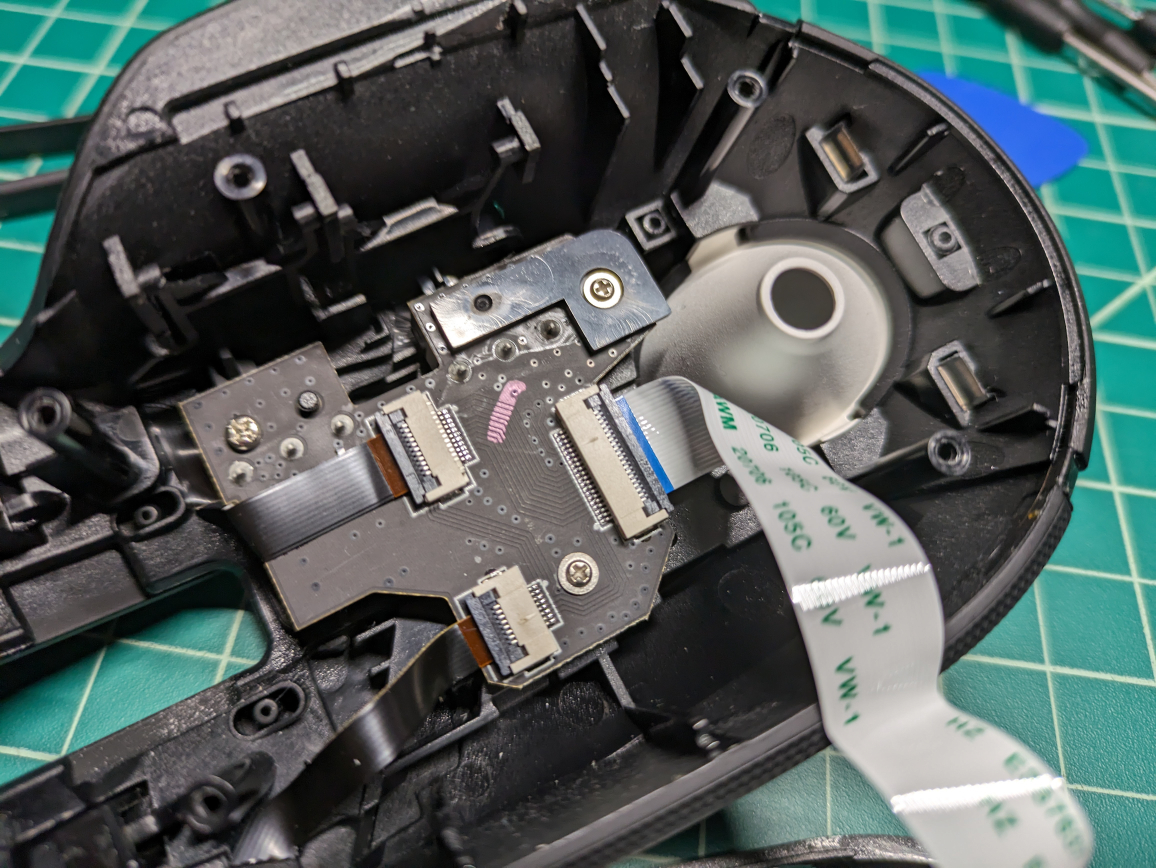
Be careful not to damage the ribbon cable when opening the mouse
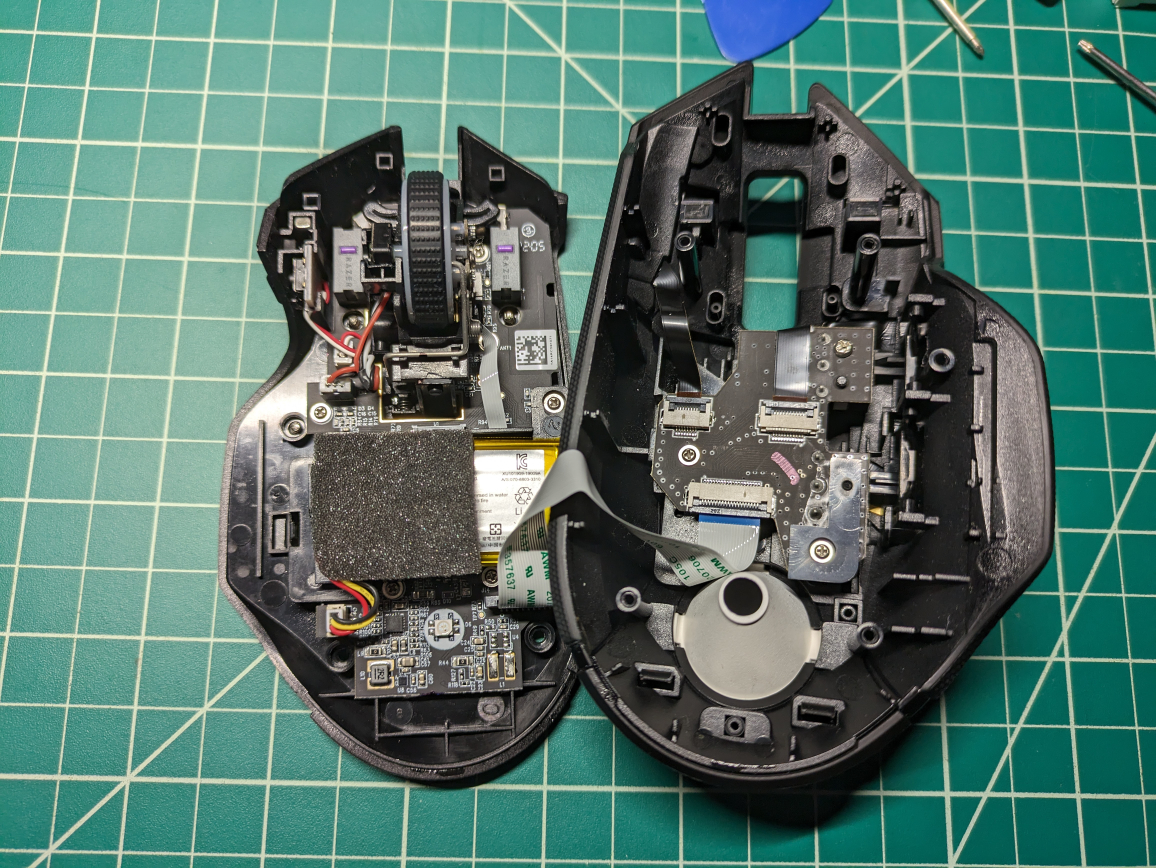
Gently lift the grey latch before pulling out the ribbon cable.
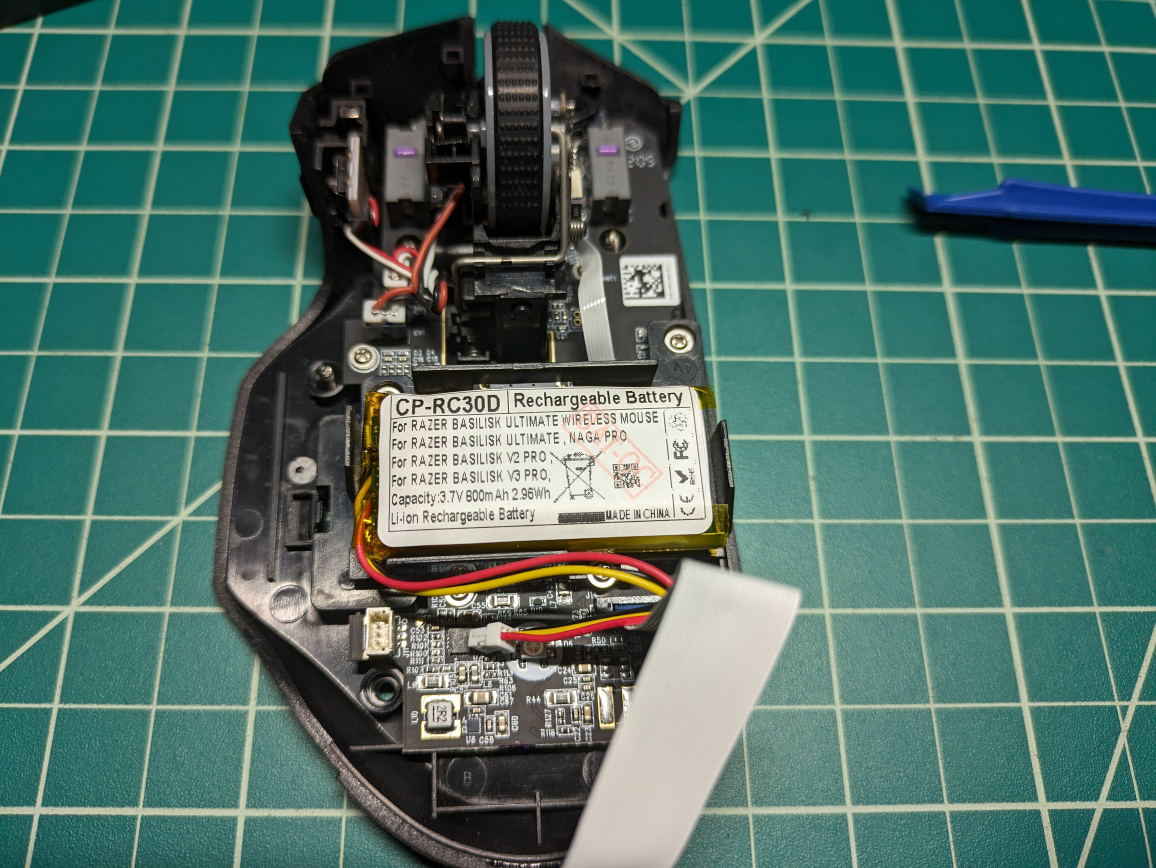
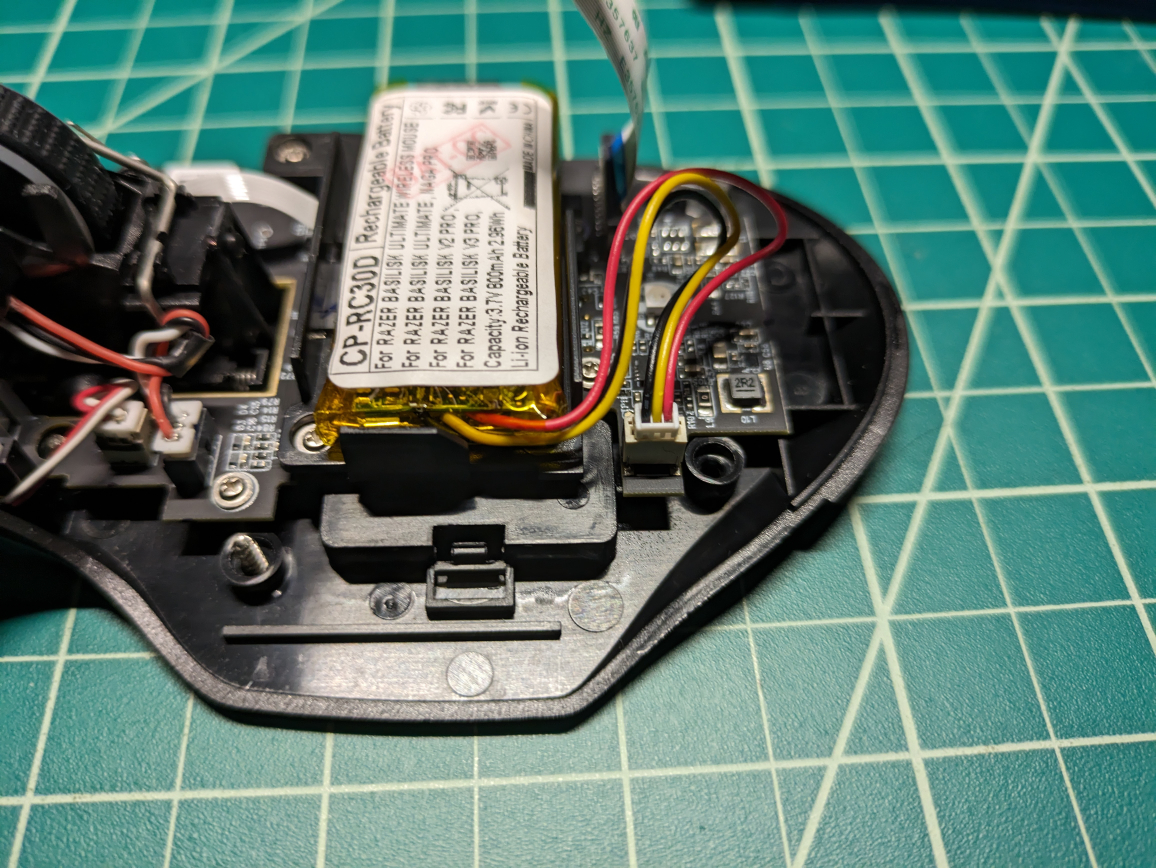
Remove the battery cable
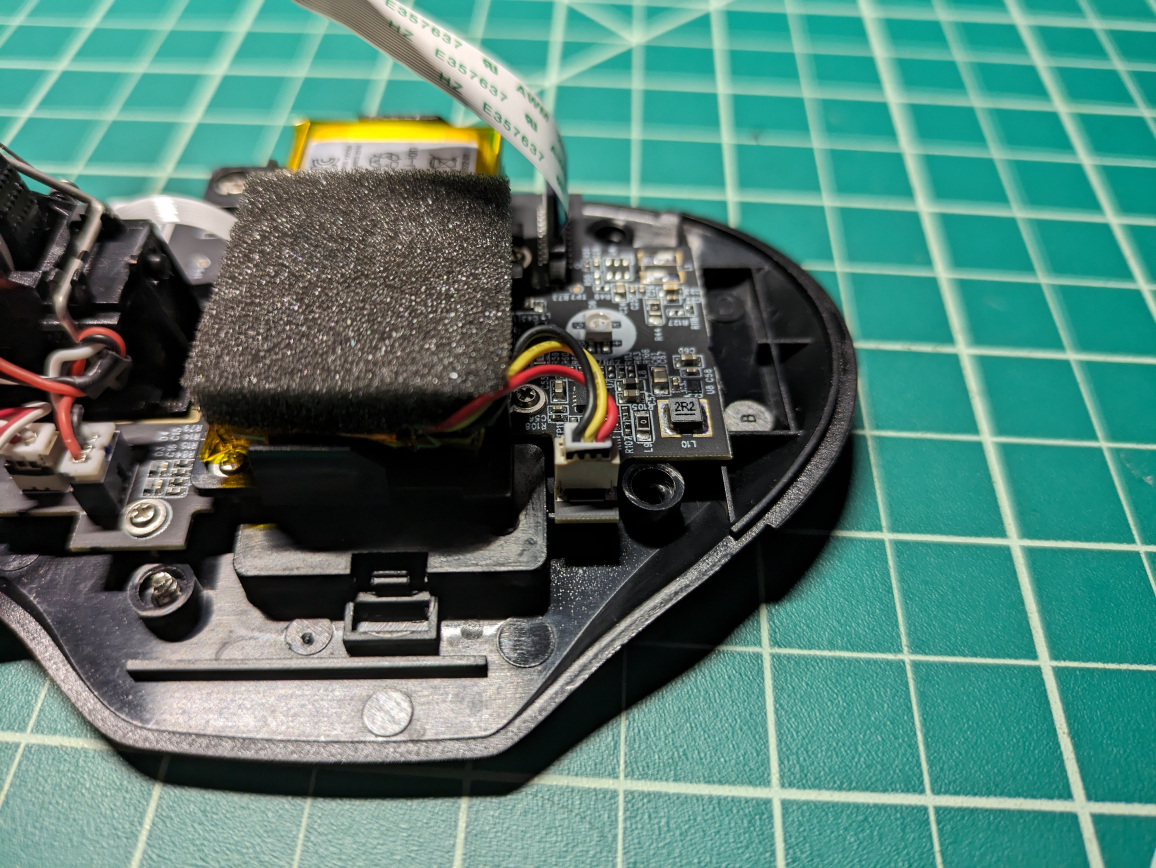
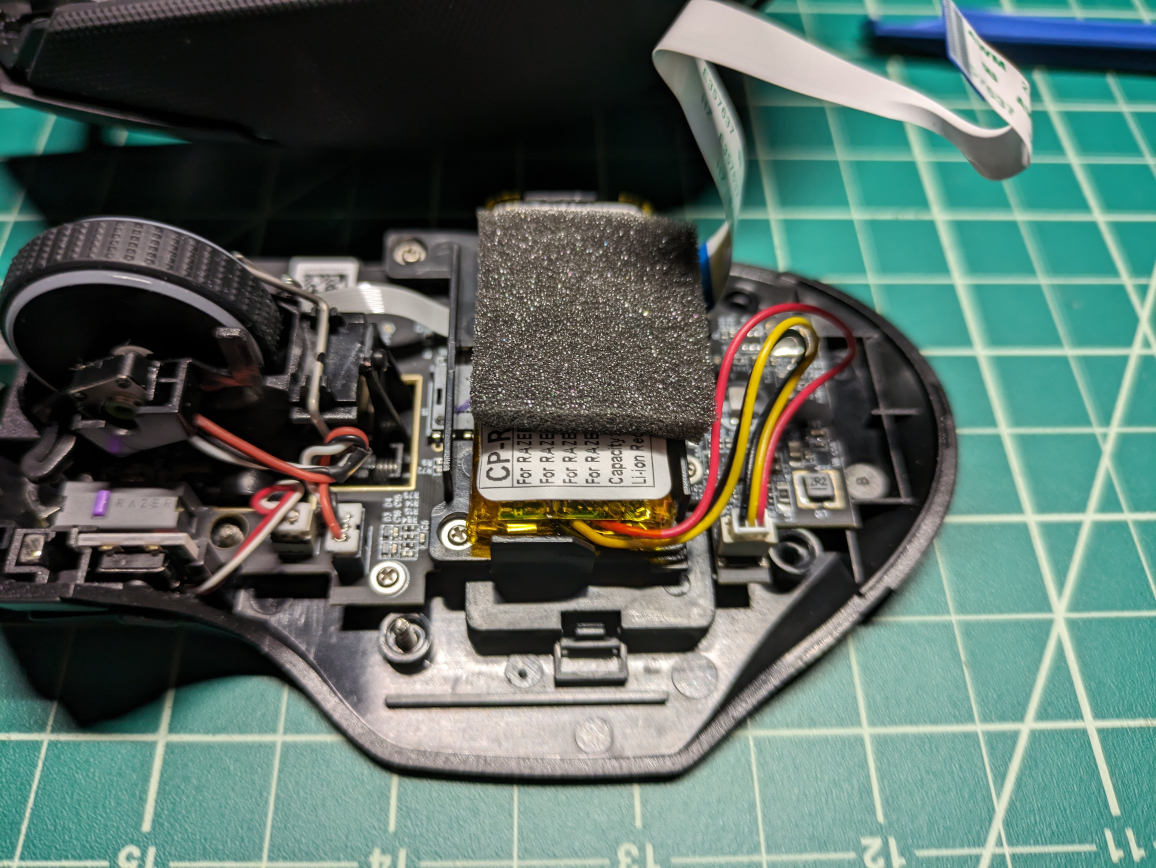
Remove the foam pad from the top of the battery.
Try to keep it in one piece. The replacement battery does not come with a new foam pad.
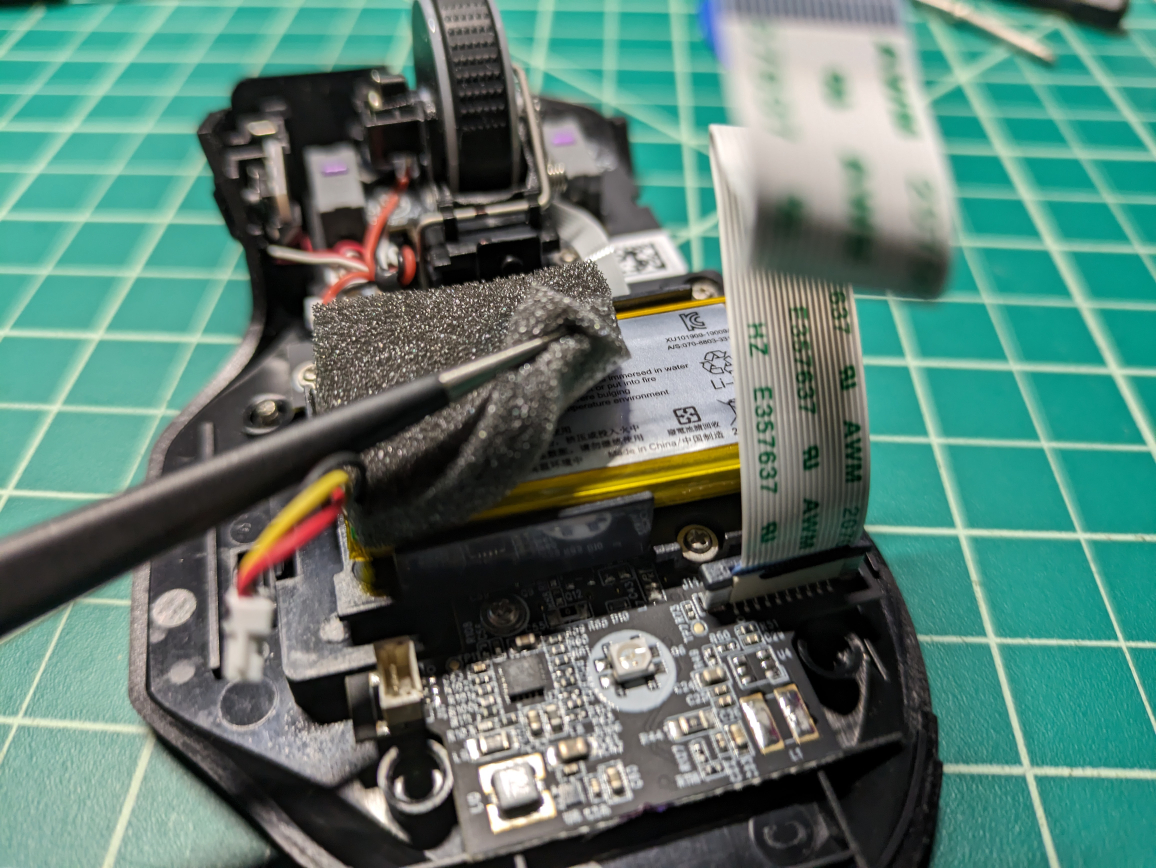
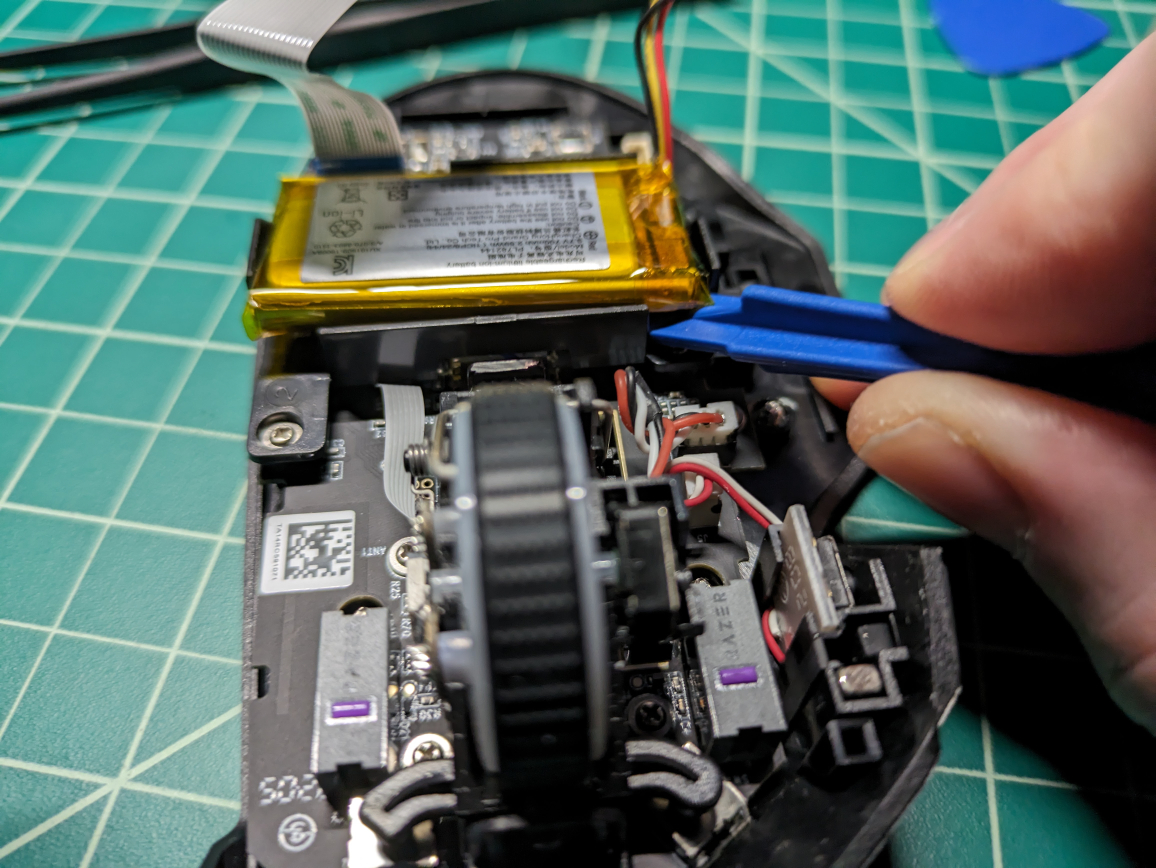
The battery is attached with double sided tape. I used one of the included tools to gently pry it out.
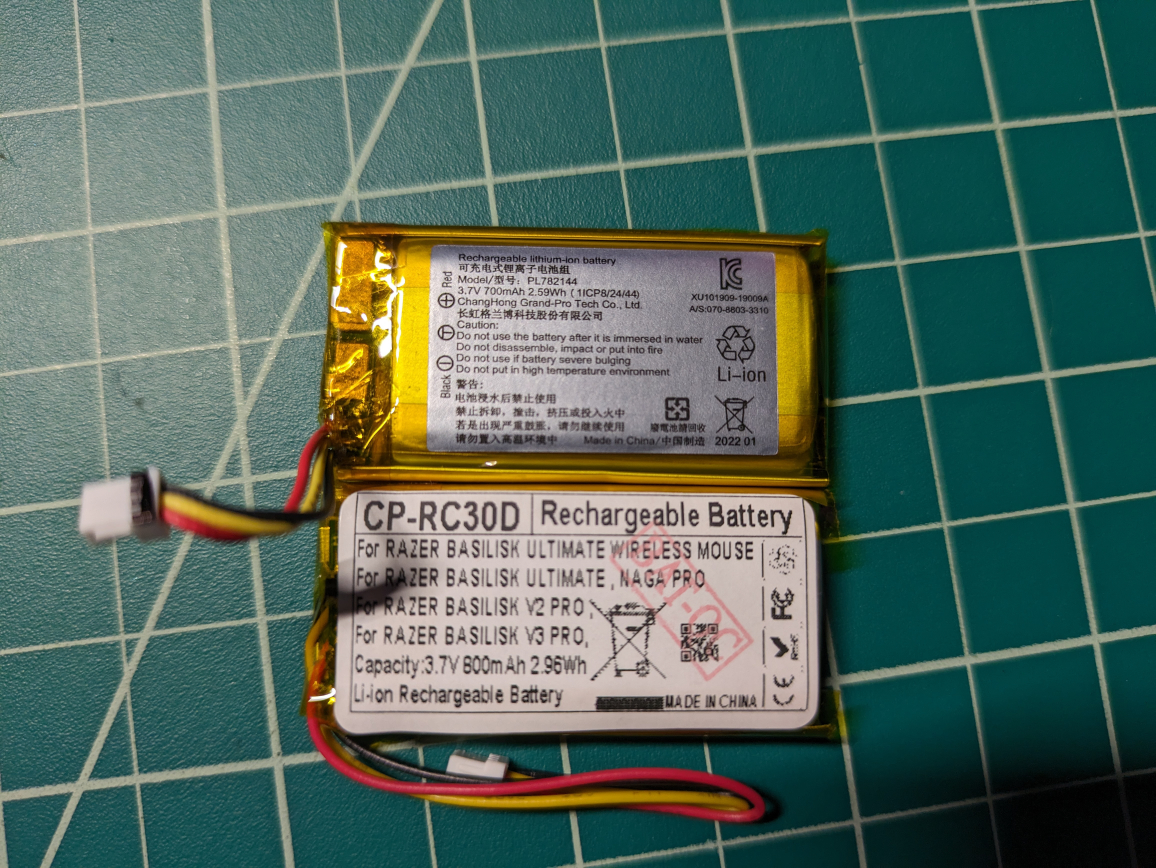
Old battery on top
PL782144
3.7V 700mAh 2.59Wh
New battery on bottom
CP-RC30D
3.7V 800mAh 2.96Wh
Remove the sticker from the back of the new battery
Reattach the power cable and put the old foam pad back on the new battery.
Remember to close the grey latch after reconnecting the ribbon cable.
Reattaching the bottom of the shell first makes lining up the top screws easier.
This post is for entertainment purposes only.
Do this at your own risk. This will void your warranty.
I cannot be held responsible if you break anything doing this to your own hardware.