This post contains an Amazon affiliate link
You do not need to calibrate every time. Skip to the measure SWR section if your device is already calibrated.
You will only use port 1 when calibrating and measuring SWR.
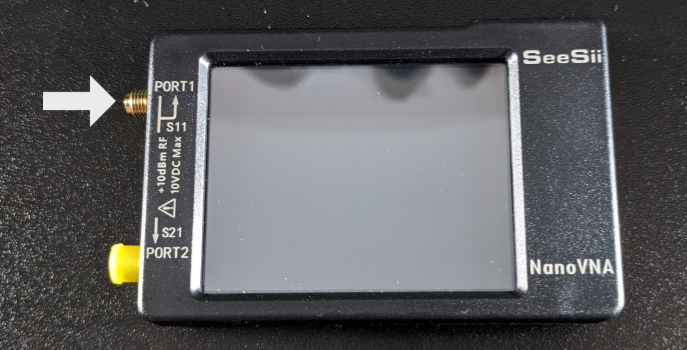
I'm using a UHF to SMA adapter for my antenna.
You probably have a bunch of these. Here's an Amazon link to the one I'm using if you don't.
Calibrating
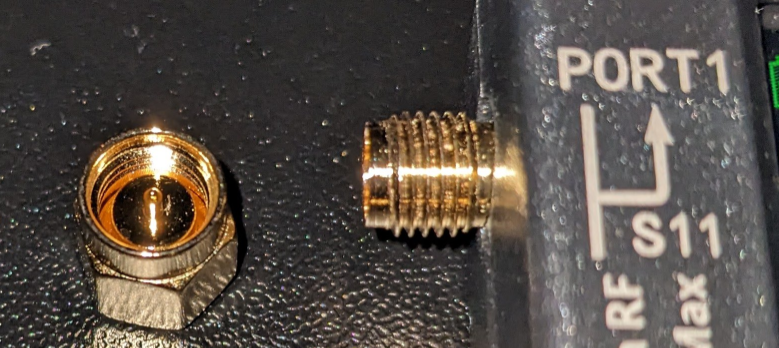
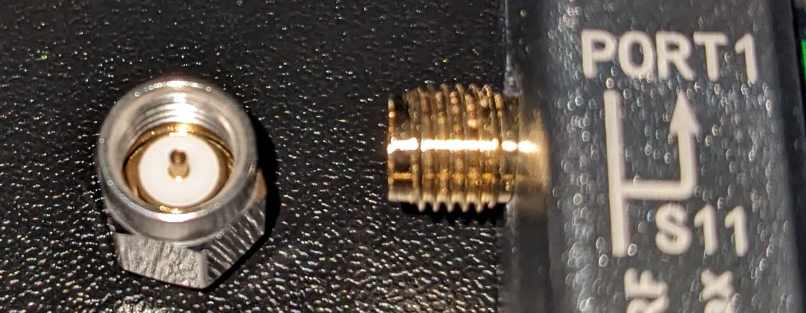
Connectors
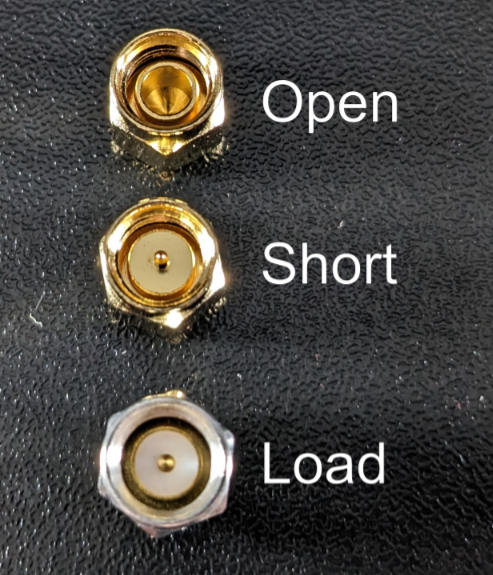
The NanoVNA includes three SMA connectors
Open: Connector has an open "O" ring. This is the only connector without a pin.
Short: Connector has a pin
Load: Silver connector with a pin
Frequency Range
You'll need to set the frequency range before calibrating.
This post will calibrate for 100MHz - 500MHz. The steps are the same for other frequencies.
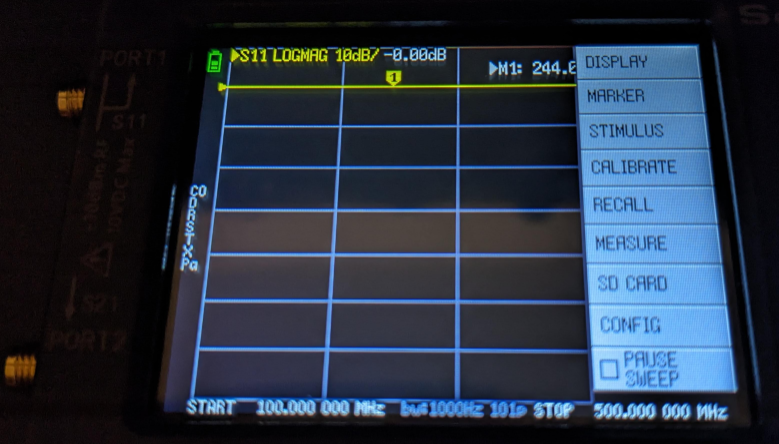
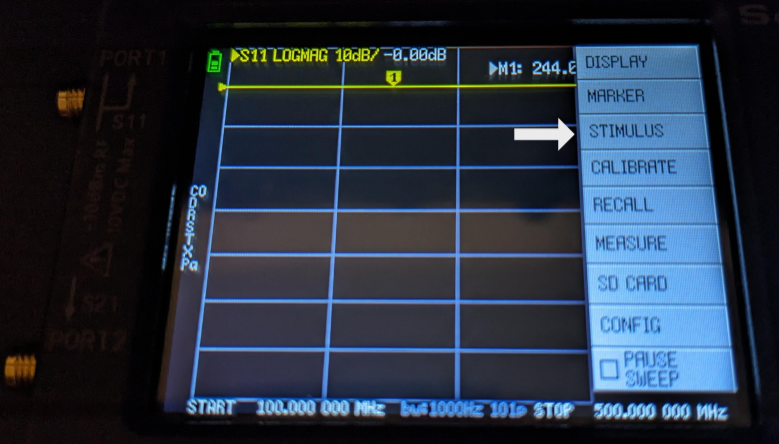
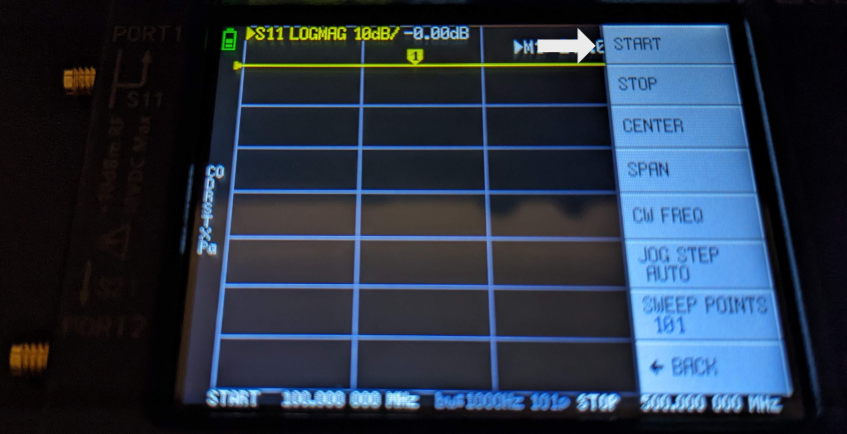
Tap the screen and select Stimulus
Select Start to set the start frequency
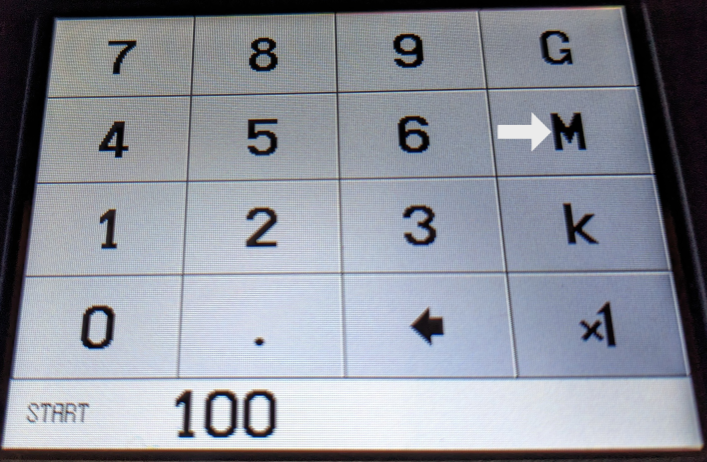
Enter 100 then press M for MHz
The prompt will close and return to the previous screen
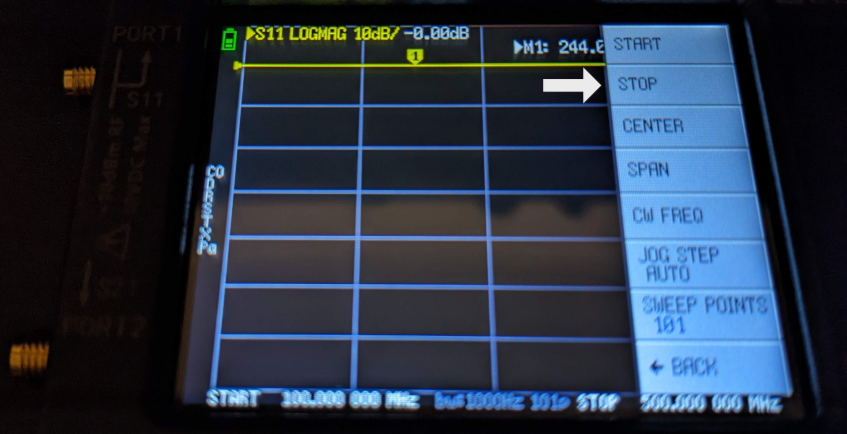
Select Stop to set the end frequency
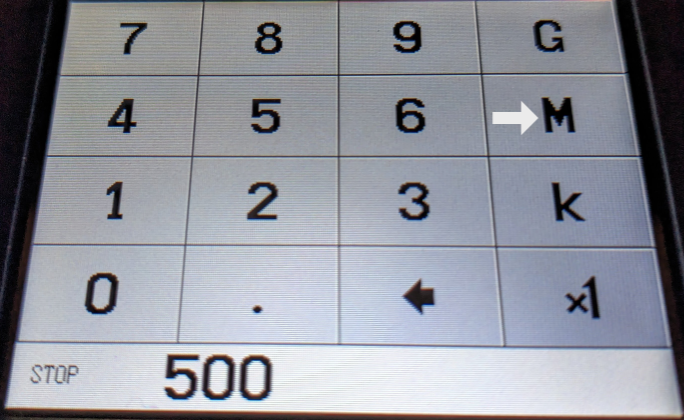
Enter 500 then press M for MHz
The prompt will close and return to the previous screen
You can check the range at the bottom of the screen.
Press Back to return to the main menu.

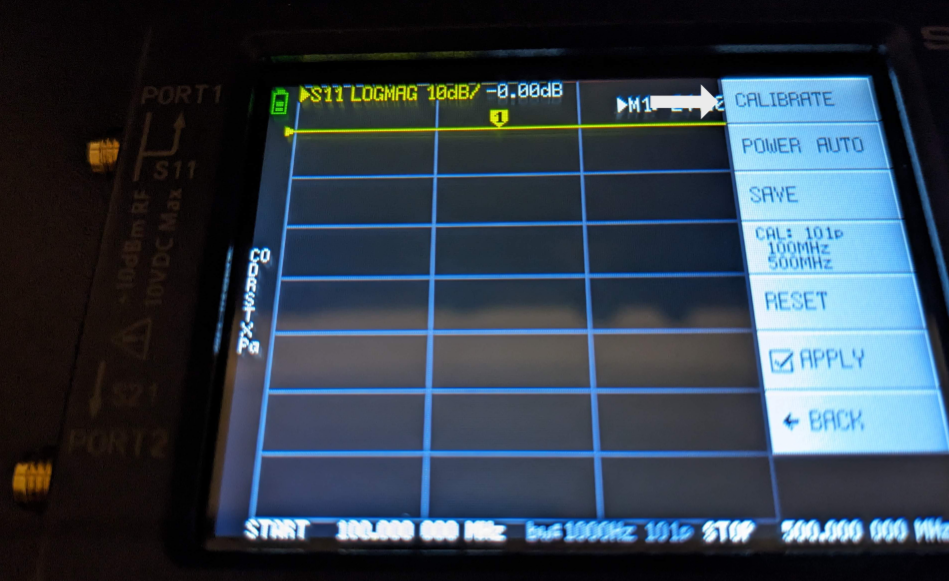
Select Calibrate to enter the calibrate menu then Calibrate again to start calibration.
Some buttons might be different than the picture below
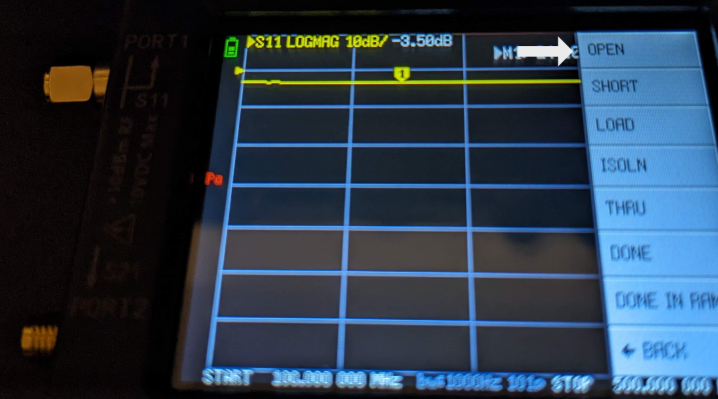
Connect the open ("O") connector to port 1 and select open
You'll see a blue progress bar at the top of the screen then a checkmark in the button when calibration is complete.

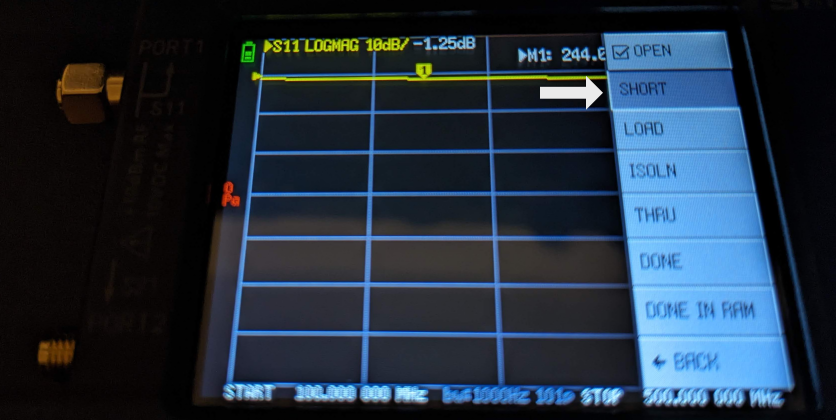
Connect the short connector to port 1 and select short
You'll see a blue progress bar at the top of the screen then a checkmark in the button when calibration is complete.
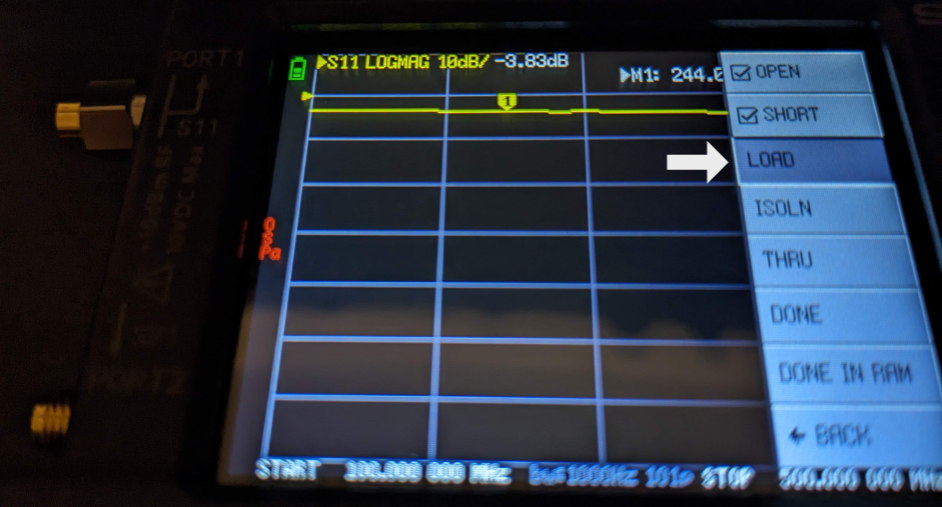
Connect the load (silver) connector to port 1 and select load
You'll see a blue progress bar at the top of the screen then a checkmark in the button when calibration is complete.
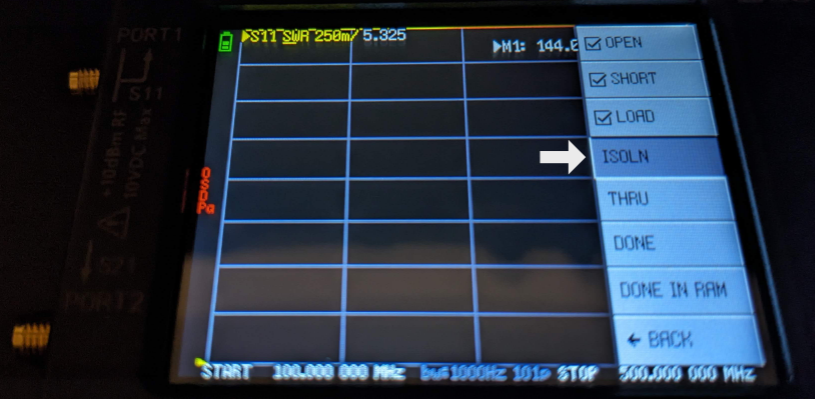
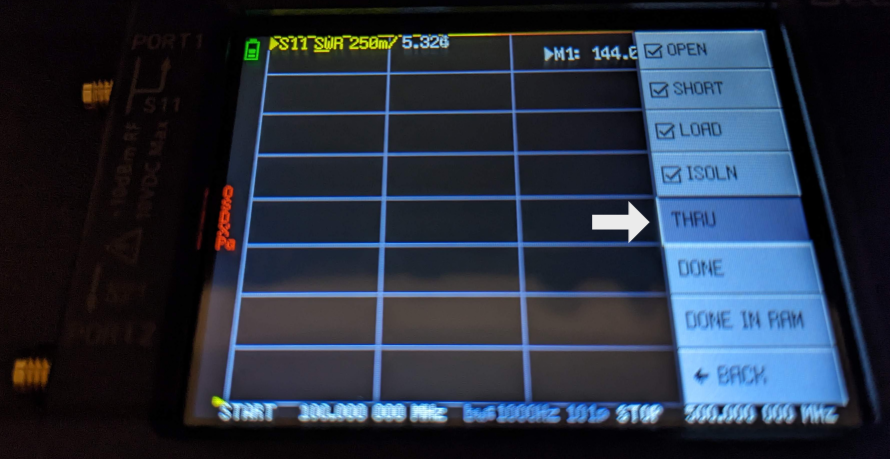
Select ISOLN and THRU then Done
Select slot 0 to save the calibration to slot 0.
Slot 0 will load when the device is powered on by default.
I like to power the unit off and back on after this step to verify the calibration saved.
Measure SWR
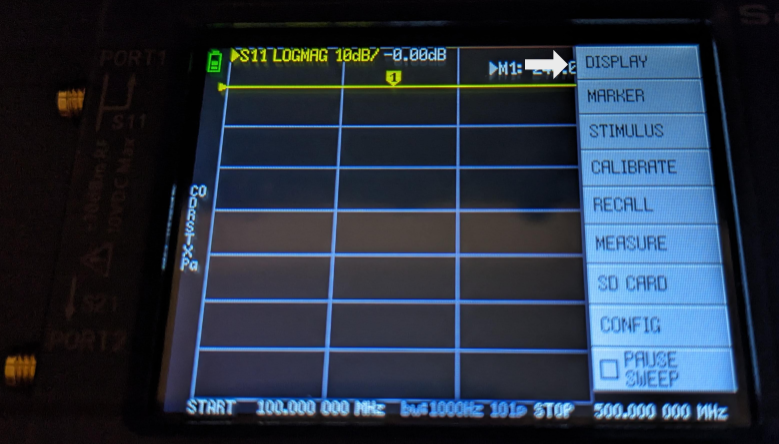
Tap the screen and select Display
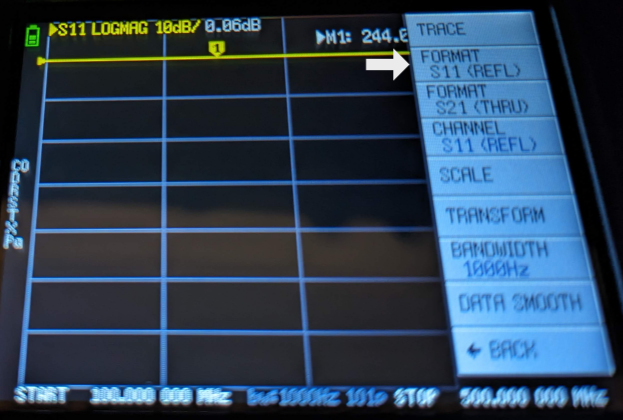
Select Format S11
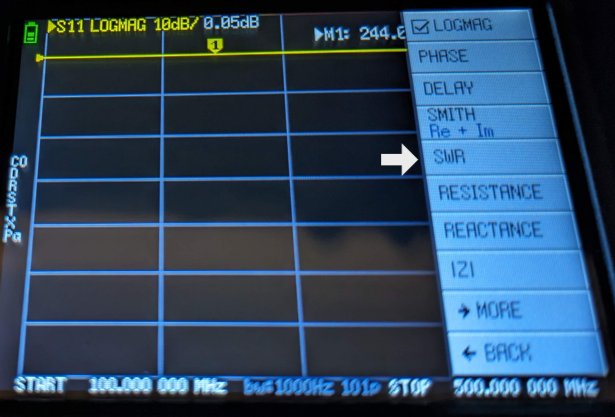
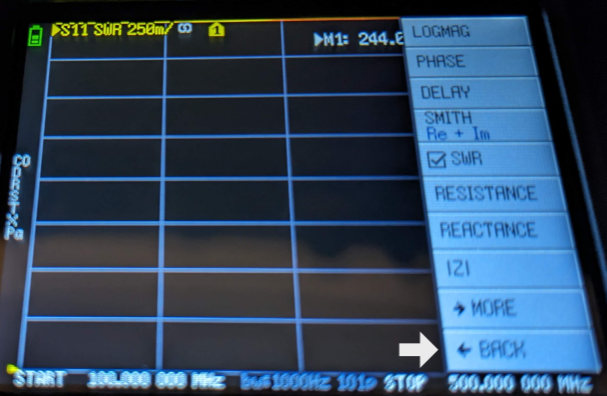
Select SWR. You'll see a checkmark in the button after selecting it.
Select Back then Back again to return to the main menu.
This example will measure 144-148MHz. The steps are the same for other frequencies.
Tap the screen and select Stimulus
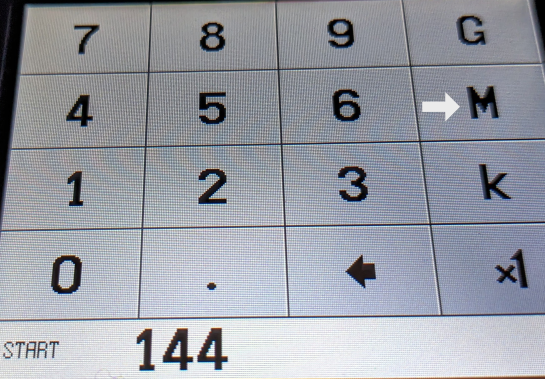
Select Start to set the start frequency
Enter 144 then press M for MHz
The prompt will close and return to the previous screen
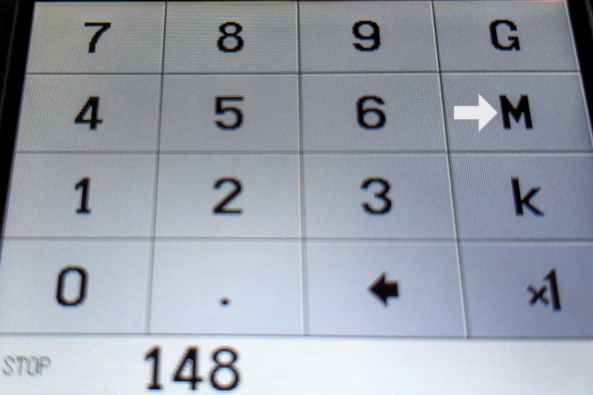
Select Stop to set the end frequency
Enter 148 then press M for MHz
The prompt will close and return to the previous screen
The yellow "1" marker selects the frequency being measured
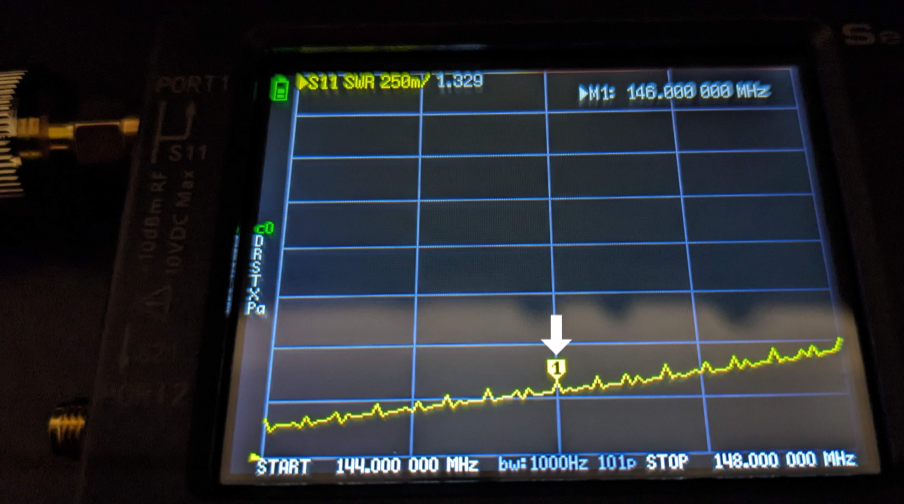
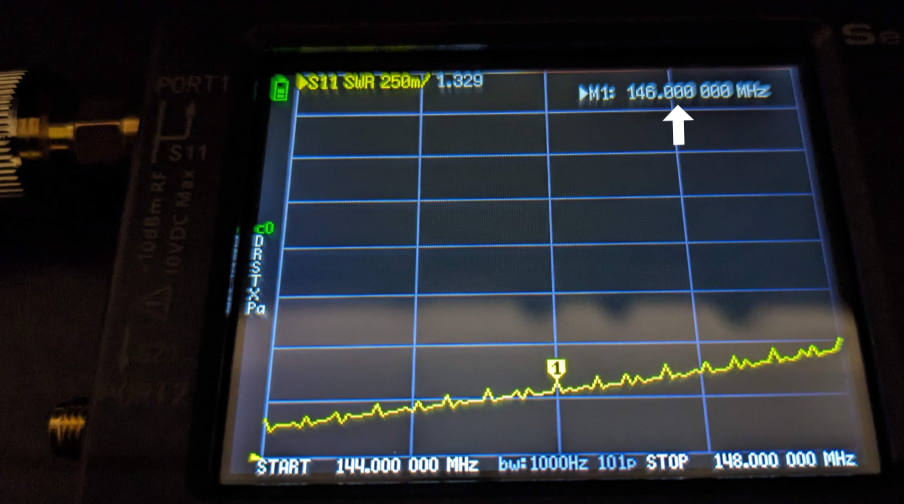
The frequency is displayed in the top right labeled "M1"
The SWR is displayed in the top left
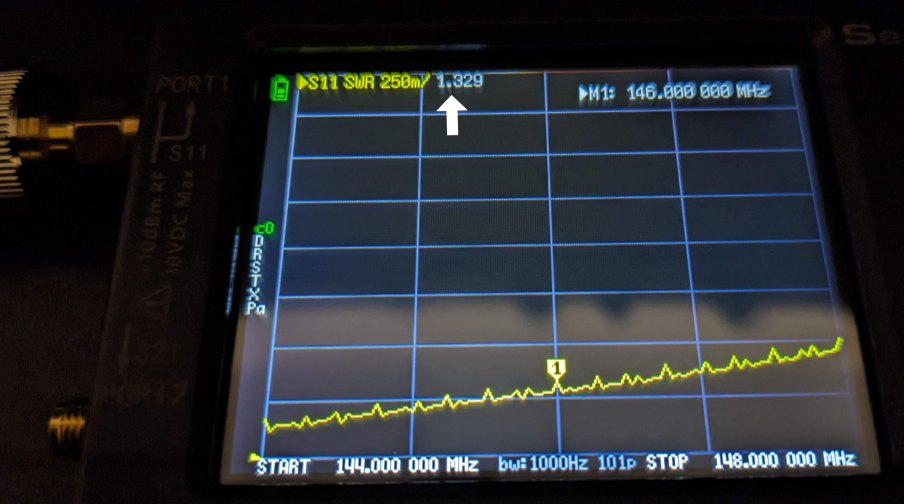
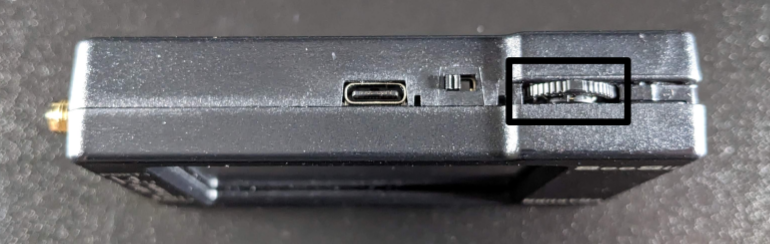
You can move frequencies by dragging the yellow "1" marker or using the rocker on the top right of the NanoVNA.
73 de KF0IZW