This method will only work with SSDs.
See this post for NVMe drives.
See this post for HDDs.
Short version
lsblk
sudo hdparm -I /dev/
sudo systemctl suspend
wake up system from sleep
sudo hdparm --user-master u --security-set-pass p /dev/<device>
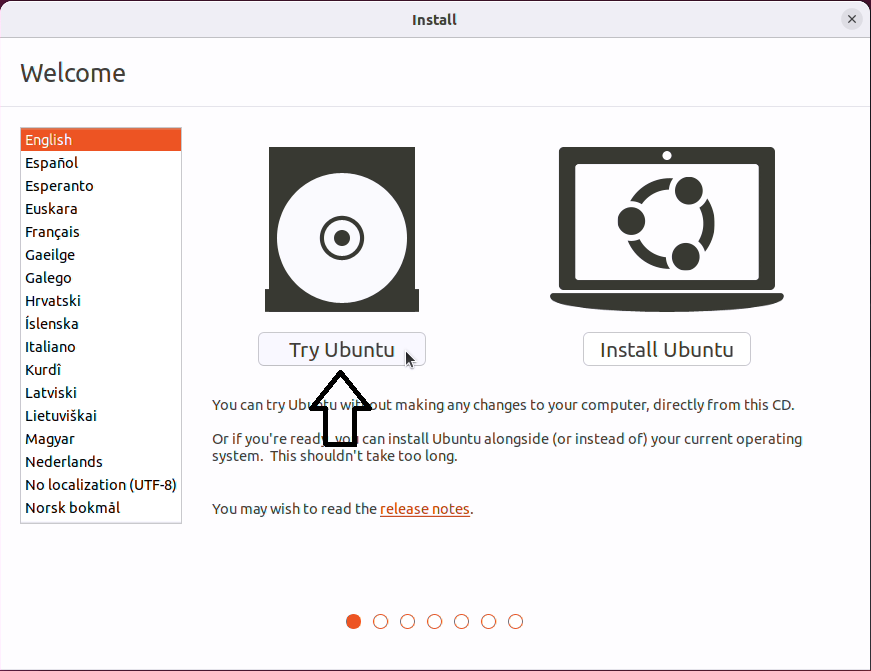
Download Ubuntu (or your preferred distro) and create a bootable USB with Rufus.
Boot to the USB drive and click Try Ubuntu.
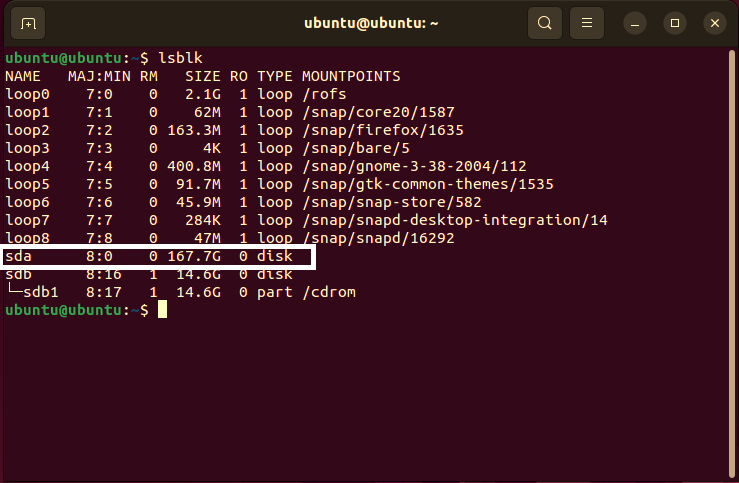
Use lsblk to find the device you want to erase.
Your drive may have a "disk" and multiple "part" types. In most cases you will want the "disk" type above the "part" types.
lsblk
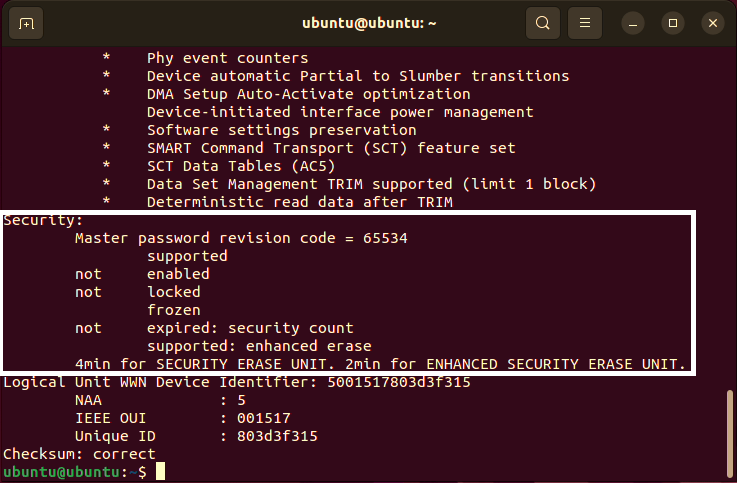
Check if the drive is frozen with sudo hdparm -I /dev/<device> . This will also check if the drive supports enhanced erase.
sudo hdparm -I /dev/
-I: Request information directly from the drive.
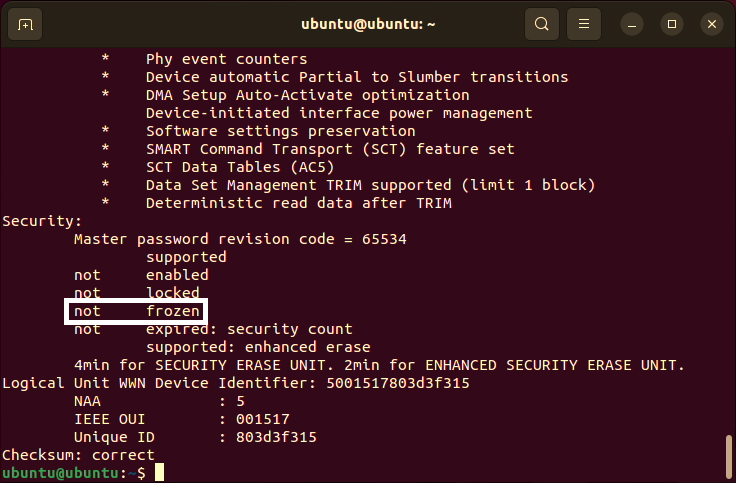
If the drive is frozen you can sleep the machine with sudo systemctl suspend. The drive will be unfrozen after waking the machine.
sudo systemctl suspend
Data destruction starts at the next step. Check your backups before continuing.
Lock the drive and with a password for the "user" user with sudo hdparm --user-master u --security-set-pass p /dev/<device>. This command sets the password to "p".
sudo hdparm --user-master u --security-set-pass p /dev/
--user-master: Specify which password (user/master) to select.
--security-set-pass: Lock the drive using the password.

Erase the drive with sudo hdparm --user-master u --security-erase p /dev/<device>
If your drive supports enhanced erase you can use --security-erase-enhanced instead of --security-erase.
This step can take some time to run and may look like it froze. Just let it run.
sudo hdparm --user-master u --security-erase p /dev/
--user-master: Specify which password (user/master) to select.
--security-erase: Erase locked drive using password.
--security-erase-enhanced: (optional) Enhanced erase locked drive.
You do not need to use --security-erase when using --security-erase-enhanced.

See the hdparm man page for more info and options.