Short version
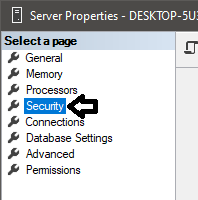
GUI: Right click instance name > Properties > Security > Server authentication
Registry:
Computer\HKEY_LOCAL_MACHINE\SOFTWARE\Microsoft\Microsoft SQL Server\MSSQL15.MSSQLSERVER\MSSQLServer\
Change LoginMode from 1 to 2
Full version
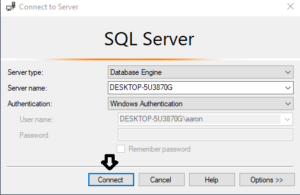
You'll need SQL Server Management Studio (SSMS) to connect
Connect to SQL server
Changing Security authentication mode
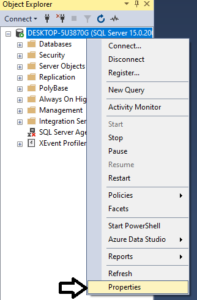
Right click the instance name and click Properties
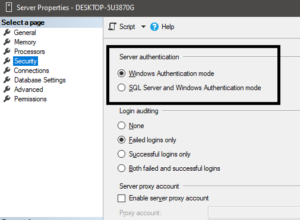
Change Server authentication to Windows Authentication mode for Windows logins only or SQL Server and Windows Authentication mode to allow local SQL logins and Windows logins. Click OK to save changes.
Restart SQL
Right click the instance name and click Restart
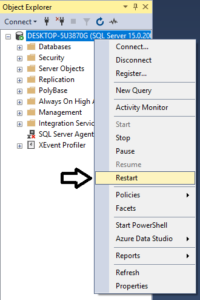
You will see a UAC prompt and a SSMS prompt to confirm the restart

Adding users
Go to instance name > Security and right click Logins then select New Login...
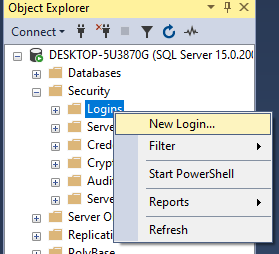
Enter Login name and select authentication type. If you're creating a SQL user you will also need to enter a password.
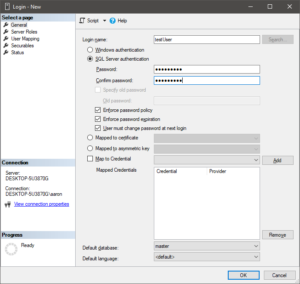
Uncheck Enforce password policy (you probably shouldn't) if you want to use a password that does not follow your machine/domain password policy.
Setup any Server Roles and User Mappings if needed. Click OK.
Registry
You can also make this change in the registry if you can't log in with windows authentication.
Go to
Computer\HKEY_LOCAL_MACHINE\SOFTWARE\Microsoft\Microsoft SQL Server\<SQL version>\MSSQLServer
I'm using SQL Server 2019 in this example so it would be
Computer\HKEY_LOCAL_MACHINE\SOFTWARE\Microsoft\Microsoft SQL Server\MSSQL15.MSSQLSERVER\MSSQLServer
Change LoginMode from 1 to 2 then restart the SQL service.
1: Windows Authentication mode
2: SQL Server and Windows Authentication mode
Error 18456
If you're getting error 18456 when connecting after changing security authentication modes make sure to restart SQL after the change.
Still locked out? See this post for creating a local SQL admin user.
